
Ford Escape 2020-2024 Service Manual / Powertrain / Automatic Transmission / Power Transfer Unit / Removal and Installation - Power Transfer Unit Actuator Motor
Ford Escape: Power Transfer Unit / Removal and Installation - Power Transfer Unit Actuator Motor
Removal
NOTE: Removal steps in this procedure may contain installation details.
-
With the vehicle in NEUTRAL, position it on a hoist.
Refer to: Jacking and Lifting - Overview (100-02 Jacking and Lifting, Description and Operation).
-
Remove the PTU.
-
NOTE: The PTU actuator motor bolts are internal torx plus® design. Use a TP30 driver bit to remove and install the bolts.
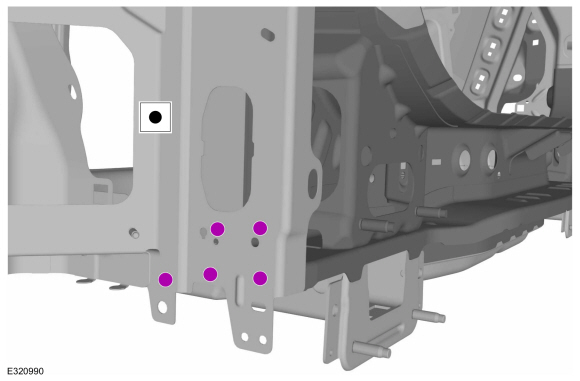
Remove and discard actuator motor bolts. Remove the actuator.
Torque: 97 lb.in (11 Nm)
.jpg) |
-
Remove and discard the actuator motor seal.
 |
Installation
-
To install, reverse the removal procedure.
 General Procedures - Power Transfer Unit Fluid Level Check
Materials
Name
Specification
Motorcraft® SAE 75W-85 Premium Synthetic Hypoid Gear LubricantXY-75W85-QL
WSS-M2C942-A
Check
With the vehicle in NEUTRAL, position it on a hoist...
 Removal and Installation - Power Transfer Unit Input Shaft Seal LH
Special Tool(s) /
General Equipment
204-069
(T81P-1104-C)
Remover/Installer, Front Wheel Hub
205-153
(T80T-4000-W)
Handle
307-557Installer, Ball BearingTKIT-2005U-FLMTKIT-2005U-LMTKIT-2006U-FLM/LMTKIT-2006UF/FM
308-968Installer, Input Shaft Seal
308-971Remover, Input Sleeve
308-972Installer, Input Sleeve
308-973Remover, PTU Input Sleeve
Hyd..
Other information:
Ford Escape 2020-2024 Service Manual: Description and Operation - Final Drive
Item Part Number Description 1 7C0987C098 Traction motor drive gear assembly 2 7H4717H471 Transfer shaft and gear assembly 3 7F4657F465 Differential carrier and gear assembly 4 7L4377L437 Ring gear assembly The final drive gear is meshed with the transfer shaft and bolted to the differential case. The ring gear bolts are one time u..
Ford Escape 2020-2024 Service Manual: Removal and Installation - Instrument Panel Center Speaker
Special Tool(s) / General Equipment Interior Trim Remover Removal NOTE: Removal steps in this procedure may contain installation details. Release the clips and remove the instrument panel speaker grille. Use the General Equipment: Interior Trim Remover Remove the bolts and position the instrument panel center speaker up. Torque: 22 lb...
Categories
- Manuals Home
- 4th Generation Ford Escape Owners Manual
- 4th Generation Ford Escape Service Manual
- Traction Control
- All-Wheel Drive
- Symbols Glossary
- New on site
- Most important about car
Sitting in the Correct Position
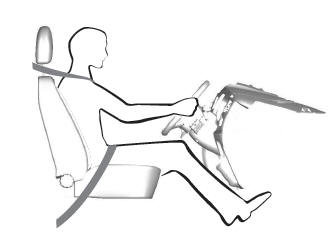
When you use them properly, the seat, head restraint, seatbelt and airbags will provide optimum protection in the event of a crash.

Copyright © 2024 www.fordescape4.com