Ford Escape: Rear Suspension / Removal and Installation - Rear Stabilizer Bar
Removal
NOTICE: Suspension fasteners are critical parts that affect the performance of vital components and systems. Failure of these fasteners may result in major service expense. Use the same or equivalent parts if replacement is necessary. Do not use a replacement part of lesser quality or substitute design. Tighten fasteners as specified.
NOTE: Removal steps in this procedure may contain installation details.
-
With the vehicle in NEUTRAL, position it on a hoist.
Refer to: Jacking and Lifting - Overview (100-02 Jacking and Lifting, Description and Operation).
-
NOTICE: Do not use power tools to remove or install the stabilizer bar link nuts. Damage to the stabilizer bar link ball joints and boots may occur.
NOTE: The stabilizer bar links are designed with low friction ball joints that have a low breakaway torque.
NOTE: Use the TORX PLUS® holding feature to prevent the ball stud from turning while removing or installing the lower arm outboard nut. Torx® and TORX PLUS® is a reg. tm of Acument Intellectual Properties, LLC.
On both sides.
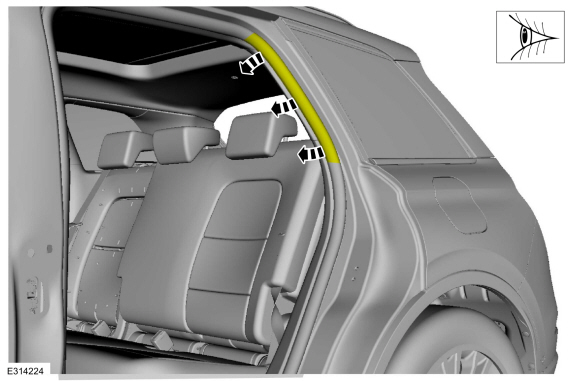
Remove and discard the stabilizer bar link upper nut and position the stabilizer bar link aside.
Torque: 85 lb.ft (115 Nm)
 |
-
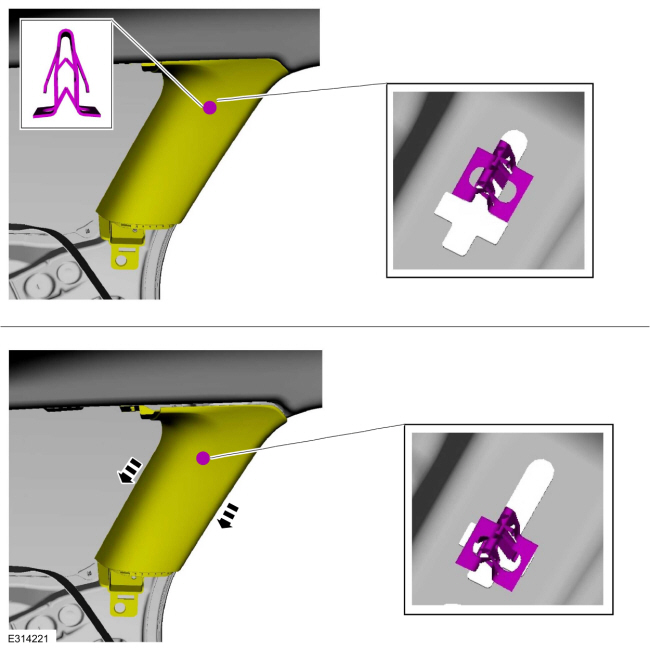
Remove and discard the 4 stabilizer bar bracket bolts and remove the stabilizer bar.
Torque: 46 lb.ft (63 Nm)
 |
Installation
-
NOTICE: Do not use any lubrication on the stabilizer bar or the bushings or damage to the bushings may occur.
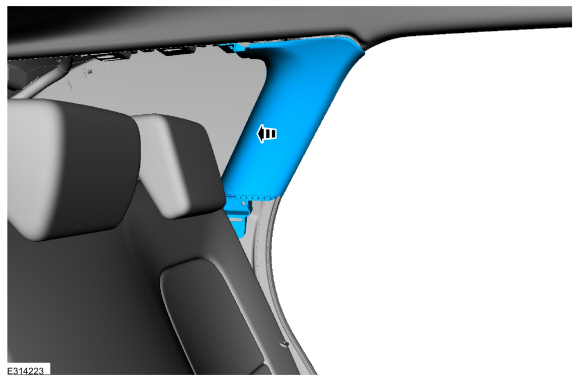
Inspect and if necessary install new stabilizer bar bushings.
 |
-
NOTE: Apply water to the brackets to aid in installation.
Press the rear stabilizer bar brackets in place on to the rear stabilizer bar bushings.
 |
-
To install, reverse the removal procedure.
 Removal and Installation - Rear Shock Absorber
Special Tool(s) /
General Equipment
Vehicle/Axle Stands
Removal
NOTICE:
Suspension fasteners are critical parts that affect the
performance of vital components and systems...
 Removal and Installation - Rear Stabilizer Bar Link
Removal
NOTICE:
Suspension fasteners are critical parts that affect the
performance of vital components and systems. Failure of these fasteners
may result in major service expense...
Other information:
Ford Escape 2020-2026 Service Manual: Removal and Installation - Turbocharger
Materials Name Specification Motorcraft® Metal Brake Parts CleanerPM-4-A, PM-4-B, APM-4-C - Removal NOTICE: The turbocharger compressor vanes can be damaged by even the smallest particles. When removing any turbocharger or engine air intake system component, ensure that no debris enters the system...
Ford Escape 2020-2026 Service Manual: Removal and Installation - Ignition Coil-On-Plug
Removal WARNING: Before beginning any service procedure in this section, refer to Safety Warnings in section 100-00 General Information. Failure to follow this instruction may result in serious personal injury. NOTE: Removal steps in this procedure may contain installation details...
Categories
- Manuals Home
- 4th Generation Ford Escape Owners Manual
- 4th Generation Ford Escape Service Manual
- Adjusting the Headlamps
- Child Safety Locks
- Description and Operation - Identification Codes
- New on site
- Most important about car
Master Access Code
What Is the Master Access Code
The master access code is a factory-set five-digit entry code. You can operate the keypad with the master access code at any time. The master access code is on the owner’s wallet card in the glove box and is available from an authorized dealer.
Displaying the Master Access Code
To display the factory-set code in the information display:
